Lights. Camera. Audio… How to improve your remote video conferencing setup.

Meet The Author
Hi, I’m JP Chatt, a creative technology professional with over 14 years’ experience in digital media, content creation, software development, and event production. I have a natural passion for events and the technology that goes into producing a great one. Like many of you, I’ve worked on all sides of the industry, from broadcast to large corporate events and worn the many hats required of each.
This article is going to highlight a few of the ways you can improve how you look and sound when participating in a video conference. The big three items for great presentations are:
- Good & balanced lighting
- An improved camera
- A good podcasting microphone
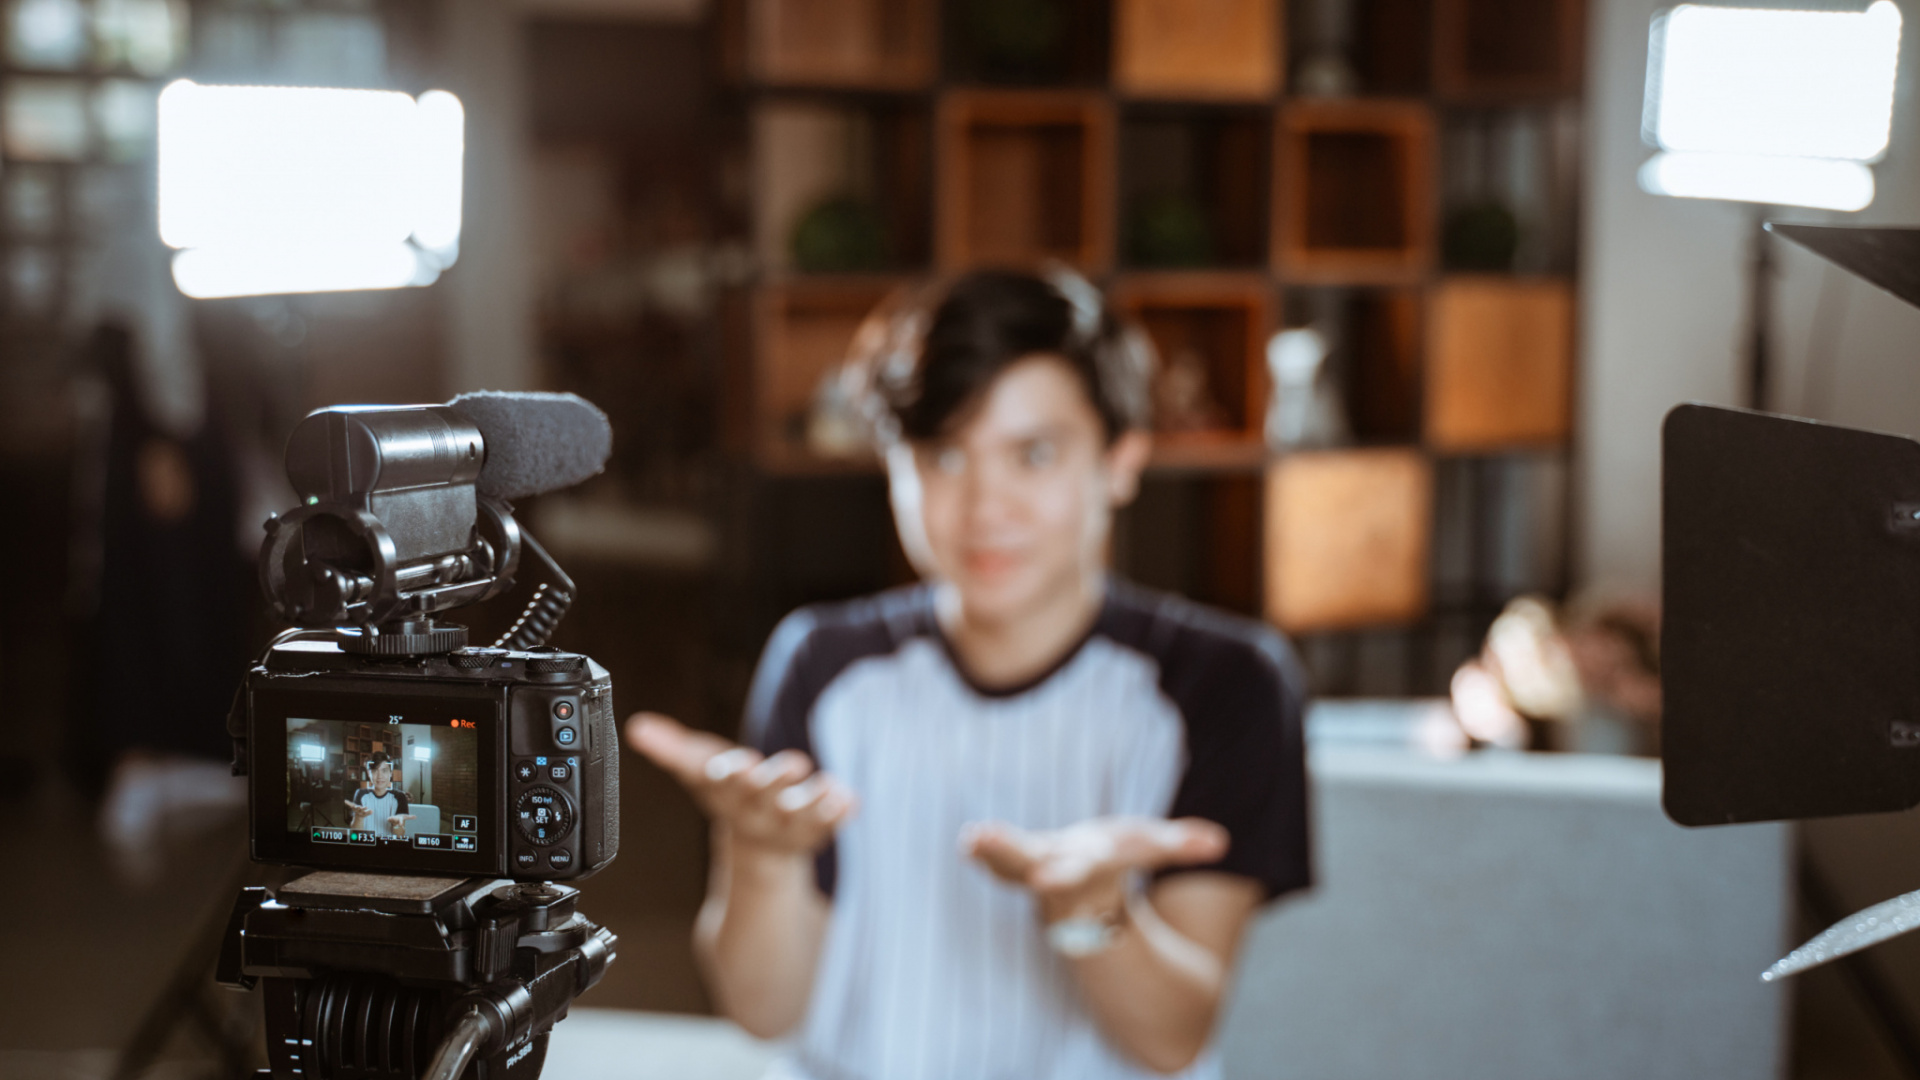
Lights
It might surprise some of you to start with lighting but the easiest way to improve your presentation is to illuminate your subject more evenly. This allows your camera to operate at a lower sensitivity which produces less noise and thus a cleaner image. It is also among the least expensive ways to improve the way you look.
Considerations:
- Is the light Dimmable?
- This one is key, especially when you are going to be looking in the direction of this light for several hours a day. Being able to dim the lights between calls, will give your eyes a break.
- Can I change the color temperature?
- This is more of a personal preference but the right color temperature can be more flattering. So having the option to adjust this to match your skin tone, background, attire, and more… can go a long way.
- What is the shape and size of the light?
- Try to go with ring lights whenever possible to evenly illuminate the subject from every direction relative to the camera’s lens. These also give a more flattering reflection in pupils.
A note regarding LED lighting. Not all LED lights are created equally. One of the ways LED lights are more energy-efficient is because they’re not always on. They actually turn on and off very fast. This is imperceptible to our eyes but it is captured by cameras at certain frame rates which produces banding in the image. This is why it is important to get LED lights that are designed for video and photo applications.
Here are some of my favorite lights:
Camera & Video
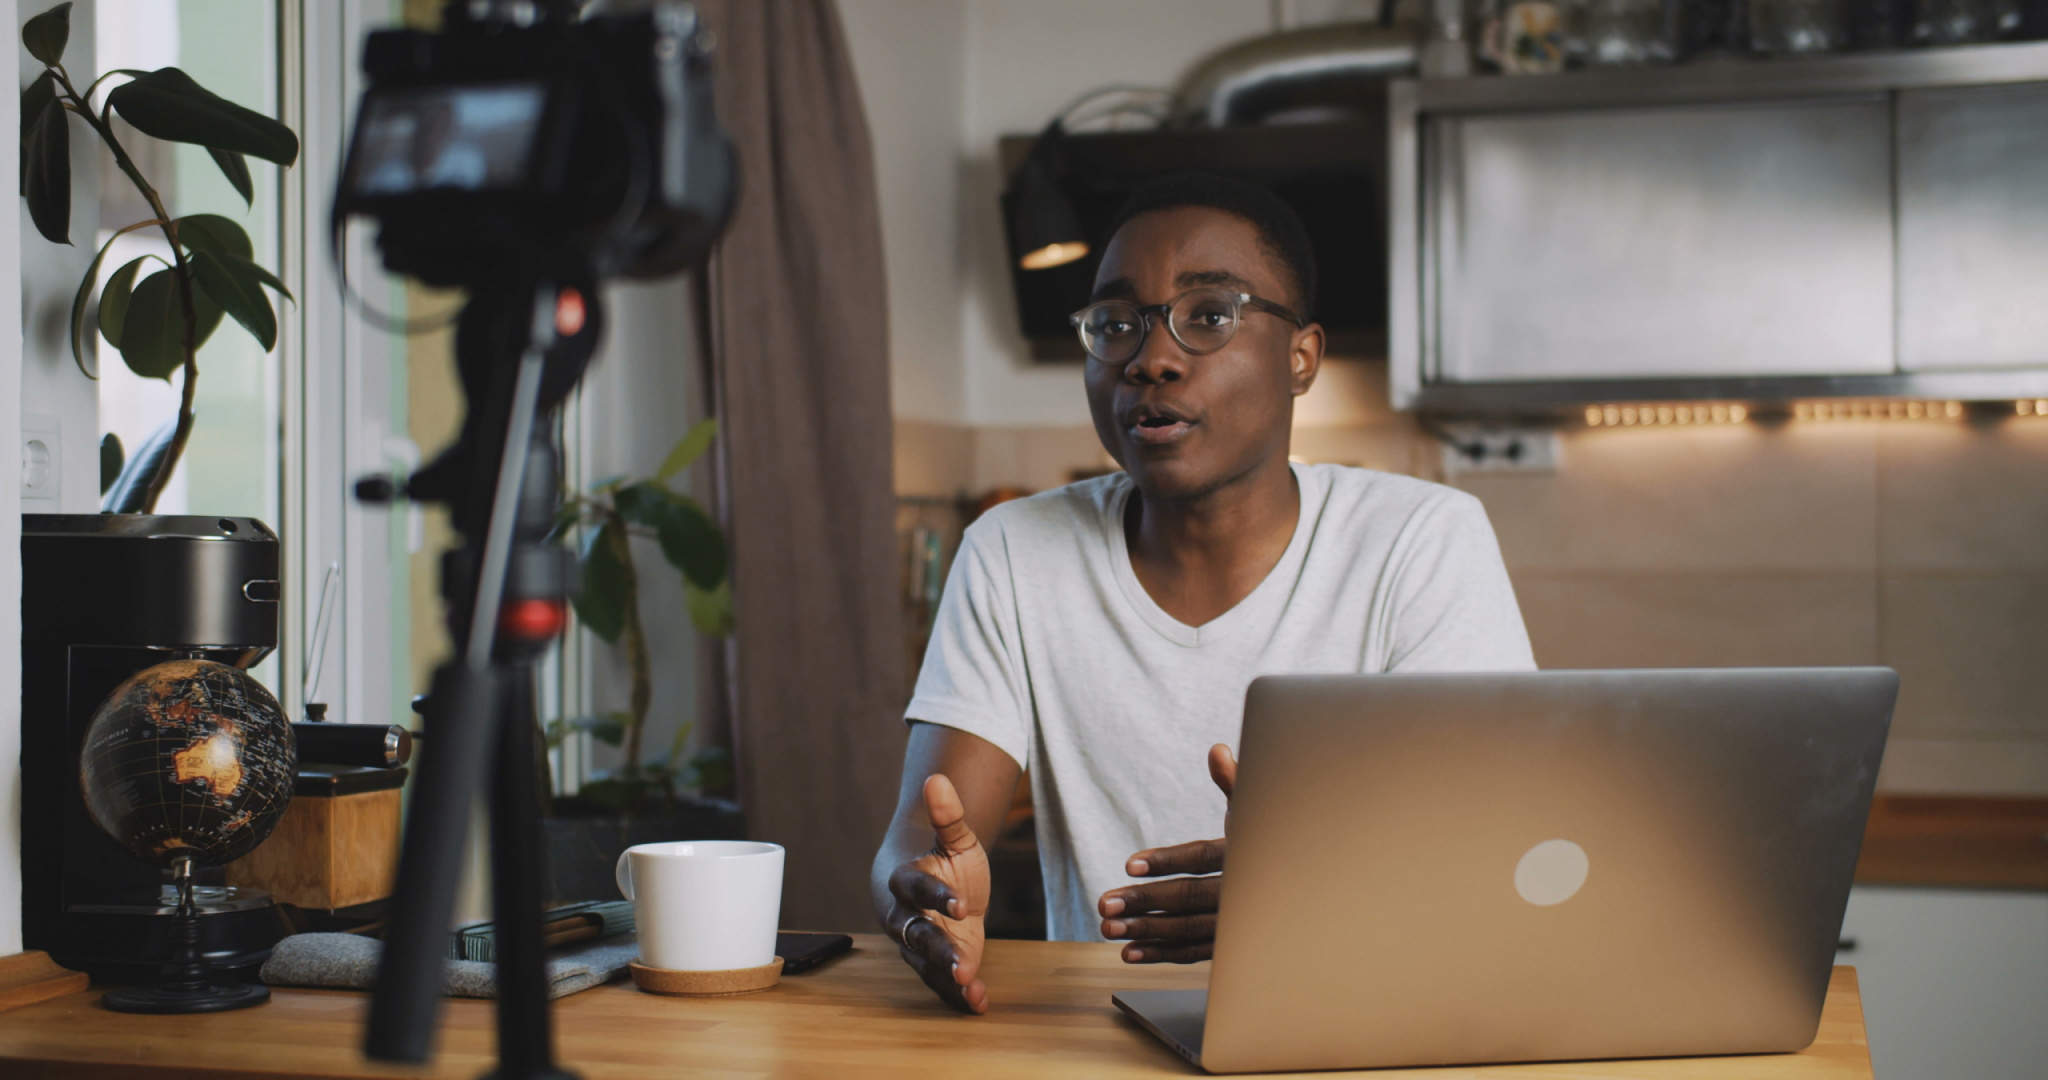
The next thing we are going to look at is the camera. The most significant improvement in image quality is going to come from switching to a camera with a larger sensor. Even the high-end 4k webcams tend to have small sensors (~⅙”) which make for more noise in your image. This is why I’d recommend switching to a DSLR, Mirrorless, or point-and-shoot you might have laying around. Any camera with an HDMI output, that does not also output the camera overlays, can be used as a webcam.
There are a few ways to approach this:
- Taking the HDMI feed from the camera and getting it into your computer via capture card.
- Using special software to recognize your camera via USB.
But if you are purchasing one for this task, I think the best bang for your buck is the Sony a6000 mirrorless camera at ~$549. Even with the kit lens it will be a sizable improvement over almost any webcam. If your budget allows for it, though, I’d encourage you to upgrade to the newer APS-C sensor line from Sony… the 6100, 6400, or even 6600.
The next thing you’ll have to do is get the output from that camera to be recognized as a video input into your computer. For this you’ll need an HDMI capture card, This allows you to take the HDMI output from the camera and get it into your computer via USB. I like Elgato’s $129 Camlink 4K but I’ve found that the inexpensive $25 card off of Amazon works pretty well for the price. If you wanted to step it up to a professional capture card so that you get the lowest possible latency and best possible picture, then you could use AJA or Blackmagic capture devices.
Last thing to make sure you get is a persistent power source for your camera. Here is an example of one for the A6000.
Note: Canon recently released software that allows you to use their newer cameras as a webcam. This means you wouldn’t need an HDMI capture card to get the feed from your Canon into your computer. Here is a link where you can see if your Canon is compatible.
https://www.usa.canon.com/internet/portal/us/home/support/self-help-center/eos-webcam-utility/
Lenses (Bonus)
The kit lens that comes with the Sony A6000 line is a fine lens and will definitely be an improvement over any webcam, but to really get the most out of your new webcam setup. I’d recommend getting a better lens. Which lens will depend on how far away you tend to be from your camera setup and thus how wide you want the shot to be. Below are two lenses I recommend for the Sony’s A6000 line.
18”-30” Wide Angle Sigma 16mm F1.4
31”+ Not-so-Wide Angle Sigma 30mm F1.4
Audio
Well, nothing ruins good video like bad audio so a good place to start is with a good external microphone. When it comes to mics there is a lot of confusing terminologies, cardioid, dynamic, condenser, boundary,… This can make the microphone selection process a stressful one. So we’re here to help, these words refer to the way the mic picks up sounds. Knowing which type of mic you are working with also tells you if it is more or less likely to pick up the sounds of your cat meowing off-screen. For our scenario, we will focus on dynamic or directional mics and those that have a direct to USB connection so we won’t need an adaptor in addition to the external microphone.
These are some of my favorites:
Note: The above mics would likely be visible on camera based on recommended usage. So if you want something hidden, a lapel/lavalier mic might give you the look you’re looking for. Though I have not used these personally, if you stick with a reputable brand you should be fine.
My Personal Rig
For lighting I use a combination of my Neewer Ring light Mounted on a small table top tripod and an Aputure MC key light mounted on a gooseneck.
For video, I use a Sony A7SII camera plugged into an Elgato Camlink 4k and a persistent USB power source, The camera is mounted inside of the ring light.
For Audio, I now use the Maono AU-A04 microphone, and I also occasionally use a rode shotgun mic hooked up to my camera.
Closing Statements
Got any favorite gear I didn’t mention? Send me a note at Feedback@shoflo.tv, We’d love to hear about what you use on your personal rig.
Other Posts