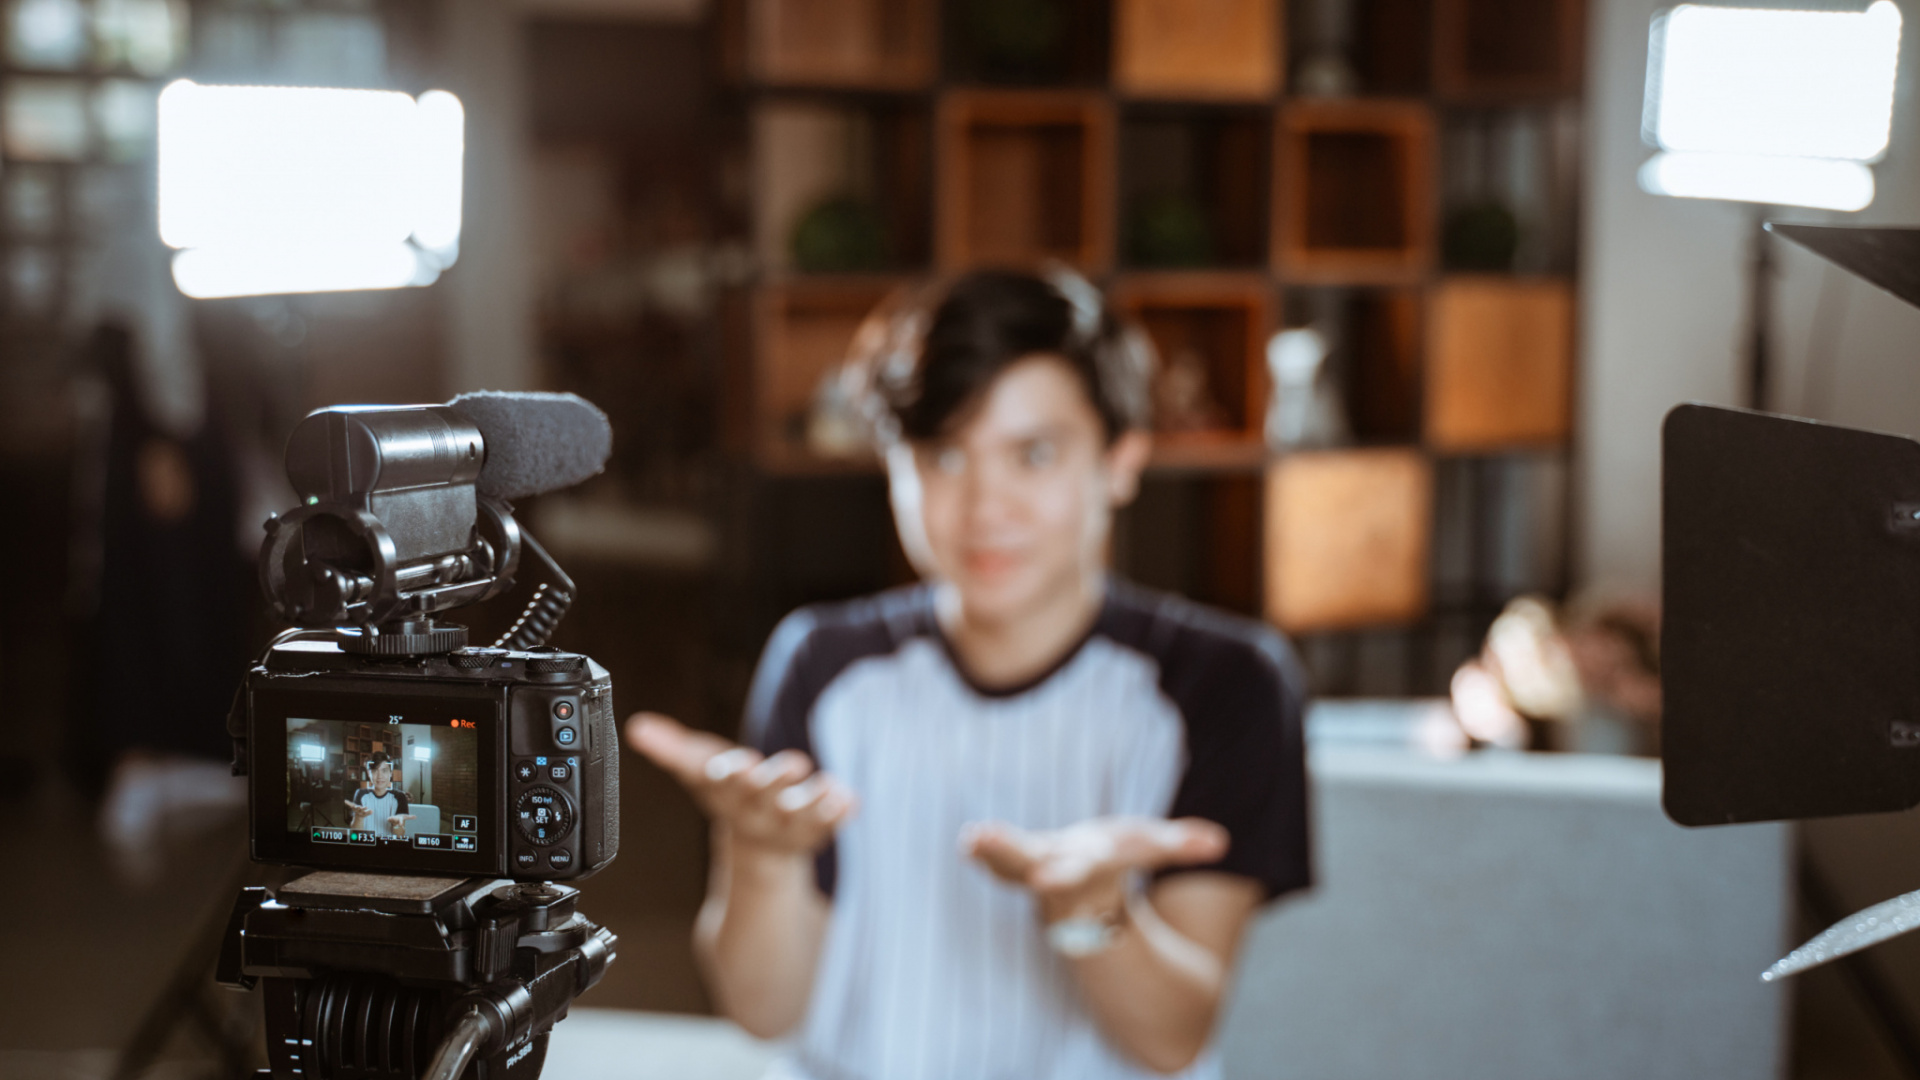
Lights. Camera. Audio… Putting It All Together. Pt. 2
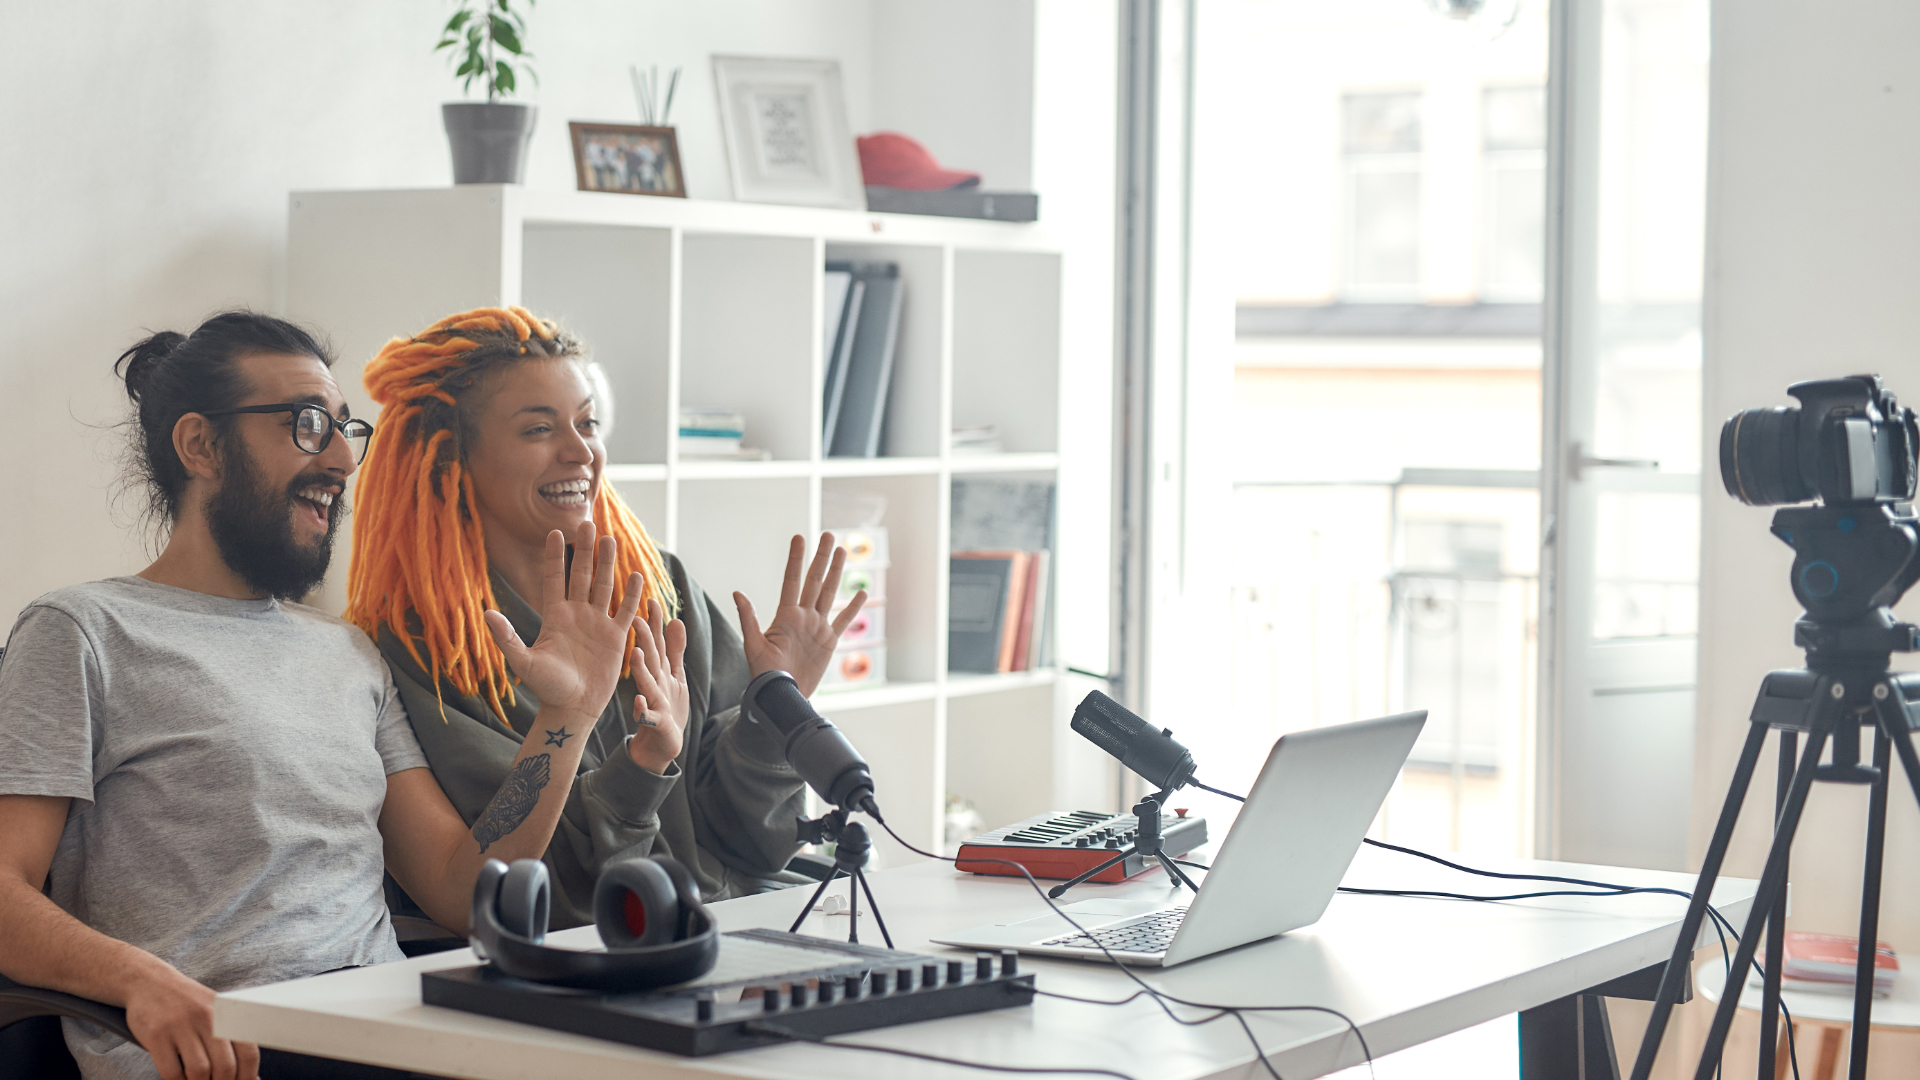
Hi, I’m JP Chatt, a creative technology professional with over 14 years’ experience in Digital Media, Content Creation, Software Development, and Event Production. I have a natural passion for events and the technology that goes into producing a great experience. Like many of you, I’ve worked on all sides of the industry, from broadcast to large corporate events and worn the many hats required of each. I’ll be sharing with you the process of putting a video conferencing rig together. In the last article, I gave you options for all the different components but this time I am going to be using the specific gear listed below.
Note: Those of you who participated and won a prize in the Shoflo Giveaway will have received a kit with these same components.
Equipment List
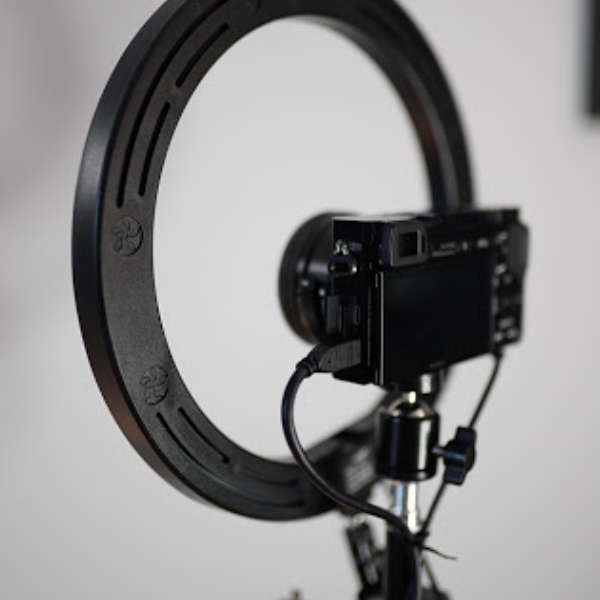
Sony A6000 Camera w/ Kit Lens
Gonine Dummy Battery for Sony A6000
HDMI Micro to HDMI cable
Avermedia HDMI Capture Card
Neewer Tabletop Mount*
10” Bi-color USB powered ring light
Camvate clamp with mini magic arm
Desktop Power Source
Maono USB Microphone
Optional: Cable Management strips
Optional: Memory Card
*If your desk is not compatible with a table top clamp mount then you may need to go with a different option.
Putting It All Together
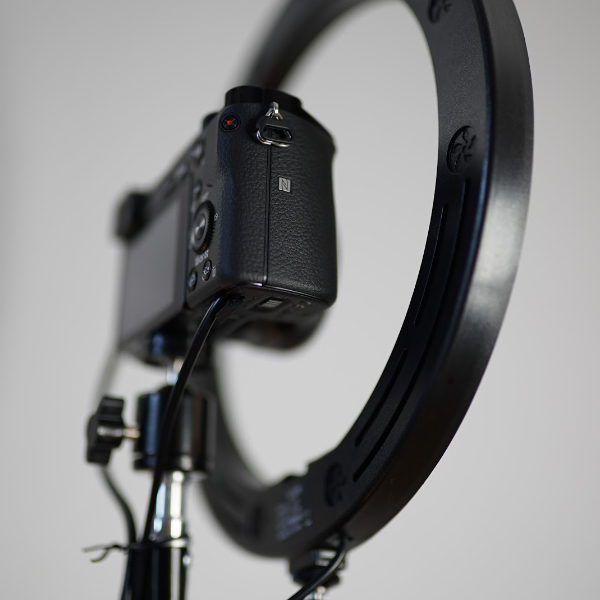
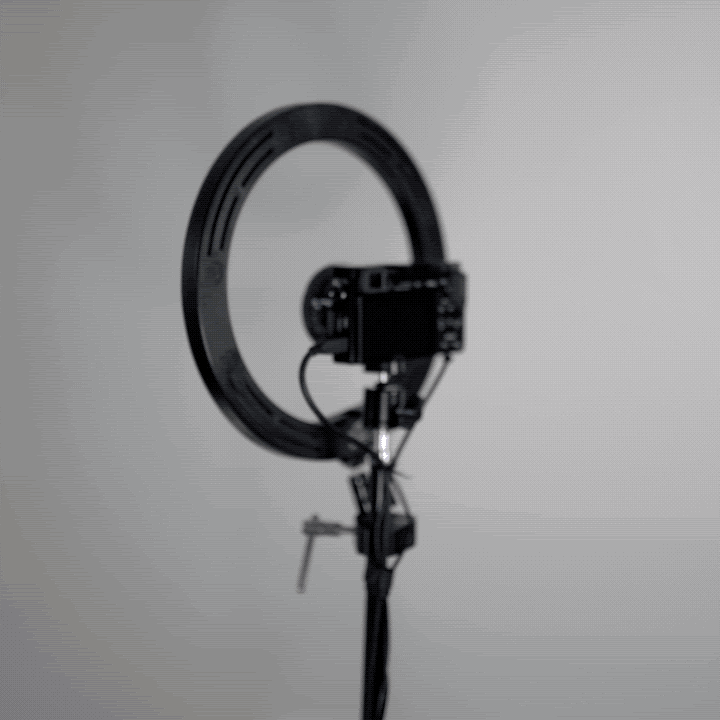
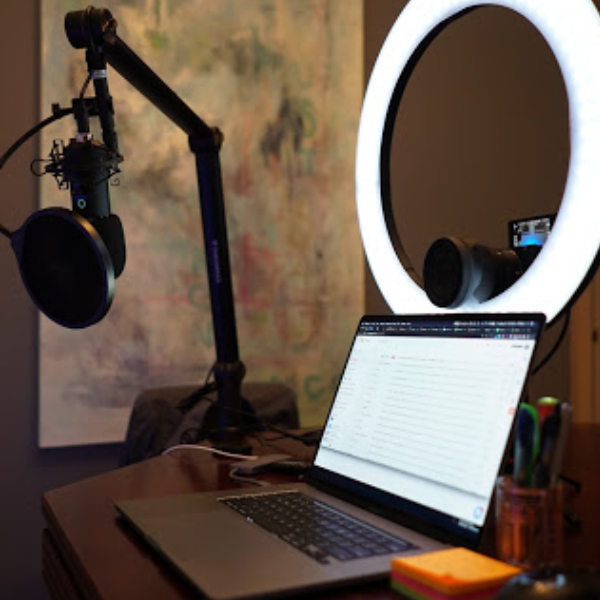
You’ll want to start by taking the tabletop mount and clamping it to your desk. Fasten the clamp tightly to make the rod stable. Then take the rubber protection cap off the ¼” threaded screw. Once that’s exposed, take the ball head that comes with the ring light and screw it onto the top of the pole. Once you’ve adjusted the camera tighten the knob on the side of the ball head to set it in place. Next take your camvate clamp and attach it to the bottom of the ring light, you may want to tighten the magic arm. Once that’s done loosen the magic arm and open up and clamp wide enough to attach to the pole. First, attach the clamp to the pole just below the camera. Then, position the ring light so that the camera is inside the ring. Lastly, tighten the magic arm.
Attaching the Cables
Now you’ll want to insert the dummy battery into the camera. Notice that the clasp under the battery compartment has a small rubber flap on it – you can pull this to the side to allow the cable to pass through. Close and lock the clasp. The last cable we need to connect to the camera is the HDMI Micro to HDMI cable. There will be another clasp on the side of your camera with an HDMI micro port, plug the Micro end of your HDMI cable into that port.
Now, you should have three cables running down your pole: Camera Power, Ring Light Power, and Camera Video Feed.
Cable Management
The next step is optional but I would recommend using velcro cable ties to tidy up your cable runs down the pole. I would also encourage you to bundle these cables as they run to your computers.
Plugging It In
Now that everything is put together, we are going to plug it all in. The dummy battery for your camera should be plugged into one of the regular outlets on your surge protector. The USB end of the ring light should be plugged into one of the USB outlets on the same surge protector. The HDMI cable should be plugged into the HDMI port on the HDMI Capture card. You will then take one of the two USB-C cables that comes with the capture card and plug that into the other end of the capture card. That cable will then be plugged into the computer or USB Dongle/Dock depending on your setup.
Microphone
The microphone is probably the easiest to put together. Lay out all the parts, construct the base and attach the microphone cage to the top. Then insert the microphone into the cage. Make sure you point the Maono logo toward you. Following, put the foam cap on the mic, and clamp the pop filter to the side of the pole. Lastly, connect the USB cable to the bottom of the mic and plug the other end into your computer or dongle.
Testing
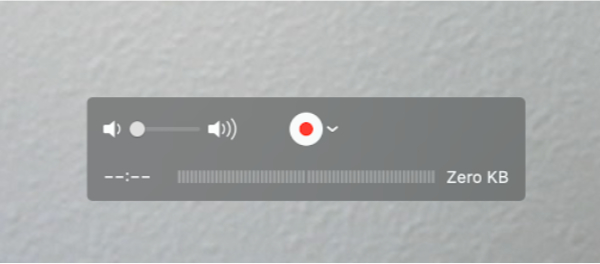
To test out your feed make sure everything is turned on and plugged in. The camera’s wheel setting should be set to video. Open up an AV app to test. In my case, I am going to use Quicktime, because it comes with MacOS but most teleconferencing software would allow you to test as well. In Quicktime, I select File > New Movie Recording. In the new window, a chevron should appear. Click that to see all of your microphone and camera options. Select the new Avermedia USB capture card as your camera and select the Maono Condenser Microphone as your microphone. You should see the feed from your new camera and be able to test the audio on your microphone.
Camera Settings
Now that everything has been hooked up and tested, you will want to adjust a few camera settings. As you can see, the video feed coming from your camera contains all the camera information you would normally see on the back of the screen. This will need to be turned off so that your video conferencing output is free of these overlays.
To do this, first disconnect the HDMI cable from the camera, just in case. Then, click the menu button on the camera and go to the settings panel on the far right. Select the 3rd screen on that panel. There will be an option there labeled “HDMI Info. Display” to which you will select to shut off. Lastly, reconnect the HDMI cable to the camera. And you’re all set!
Alternate Setups
Depending on your WFH setup, you might find that you want to do something a little different such as upgrade to a larger ring light/key light, use a table top tripod instead of clamp mounts, or perhaps upgrade the camera or microphone. Any of these options, even more, are all possible. Therefore, we encourage you to find the setup combination that works best for you.
Closing Statements
Got any ideas on how this could be improved? Send us your thoughts to feedback@shoflo.tv. We’d love to hear about what you use on your personal rig.
Other Posts